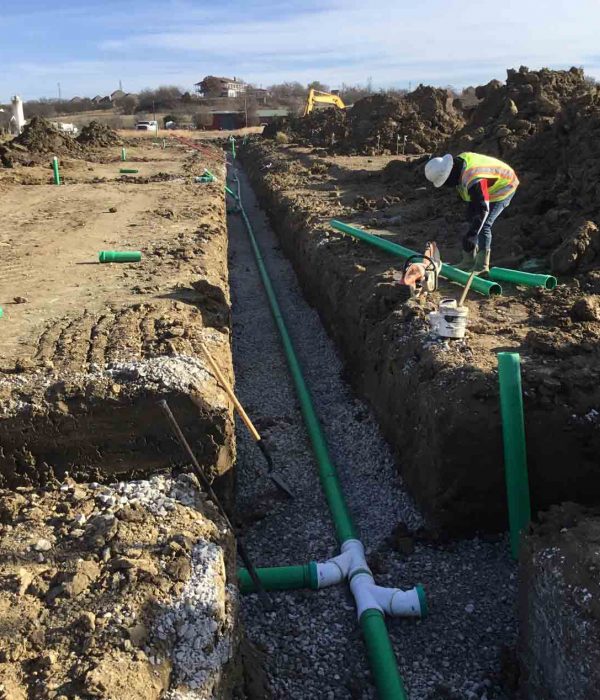
Sanitary Sewer Line Installation
Sanitary Sewer Line Installation
The sanitary sewer pipe of a residential sewer line begins at the point the main drain exits the house’s foundation. It then slopes down to connect, at the tap, with the city’s municipal branch. The sewer pipe that connects a house to the main sewer line is called the lateral. The lateral is a 4-inch pipe buried in a well-prepared, sloped trench below the frost line.
It is crucial to consider the durability of the sewer pipe first before installation, as this determines how well it will withstand natural conditions. The materials used for sanitary sewer pipes are;
It is crucial to consider the durability of the sewer pipe first before installation, as this determines how well it will withstand natural conditions. The materials used for sanitary sewer pipes are;
Steel
Steel pipes are strong, resistant, and durable but costly to make, procure and transport. They have, however, become unpopular lately because they are prone to rust which reduces their lifespan. Meaning, that steel pipes need frequent repair and replacement, which is costly.
Plastic
Plastic pipes are usually highly recommended in places prone to earthquakes. Plastic pipes are currently replacing cast-iron pipes because they are easy to handle during construction, have high strength, and are easy to maintain.
Concrete
This material is the best choice for buried infrastructure. Concrete pipes are readily available but need to be handled and installed with extra care because they break easily. They also require frequent inspections.
The Sewer Pipe
Installation Process
The installation of a new sewer line system needs to be approved by the local code authority. It also should be done by a certified professional technician because it is a challenging task. Sewer lines are installed in five steps.
The pipe's elevation
The total drop in elevation or the depth of a sewer pipe is measured using GPS, laser level, or traditional surveying equipment.
The ending elevation of the pipe - the starting elevation = the total drop in elevation
The ending elevation of the pipe - the starting elevation = the total drop in elevation
Calculate the Slope
The trench slope is crucial as it determines how well the pipe will drain by force of gravity. Dividing the total drop by the length of the pipe gives you the slope. The standard minimum slope or a sanitary sewer pipe should be 2 percent or 2 feet of drop per 100metres. A slope that is too steep will cause clogs in the system. If too shallow, it will lack the proper velocity for efficient draining.
Trench-digging and laying of the bedding
The pipe's termination point should be located before digging the trench. The trench needs to be as narrow as possible to prevent settling due to soil disturbance. To avoid soil settling at the bottom, the trench should follow the desired slope, and be compacted, till smooth. For bedding, sand is best because it is much easier to slope than soil.
Installing the Pipes
Each PVC pipe has sections joined using solvent glue or gasket piping. It is then installed starting from the lower end to the higher end of the slope.
Each pipe's bell end must face uphill to minimize leakages at pipe joints. Most city codes require one or two cleanouts at the house end to provide easy access to scope and clean the sere system with a sewer auger.
Each pipe's bell end must face uphill to minimize leakages at pipe joints. Most city codes require one or two cleanouts at the house end to provide easy access to scope and clean the sere system with a sewer auger.
Trench Backfill
Backfilling of the trench is done using a layer of sand and soil after the sewer line has been installed and passed its final inspection. Each layer of soil is carefully compacted to prevent soil settling.
A warning tape must be put over the first compacted layer to alert a crew carrying out excavation work that there is a pipe there. Doing this prevents any accidental damage to it during the digging.
Previous slide
Next slide

